Blog
Customizing Your Omnitrix With Paint And LEDs
Jan
Transforming Your Omnitrix: A DIY Guide for Enthusiasts
Introduction to Customization
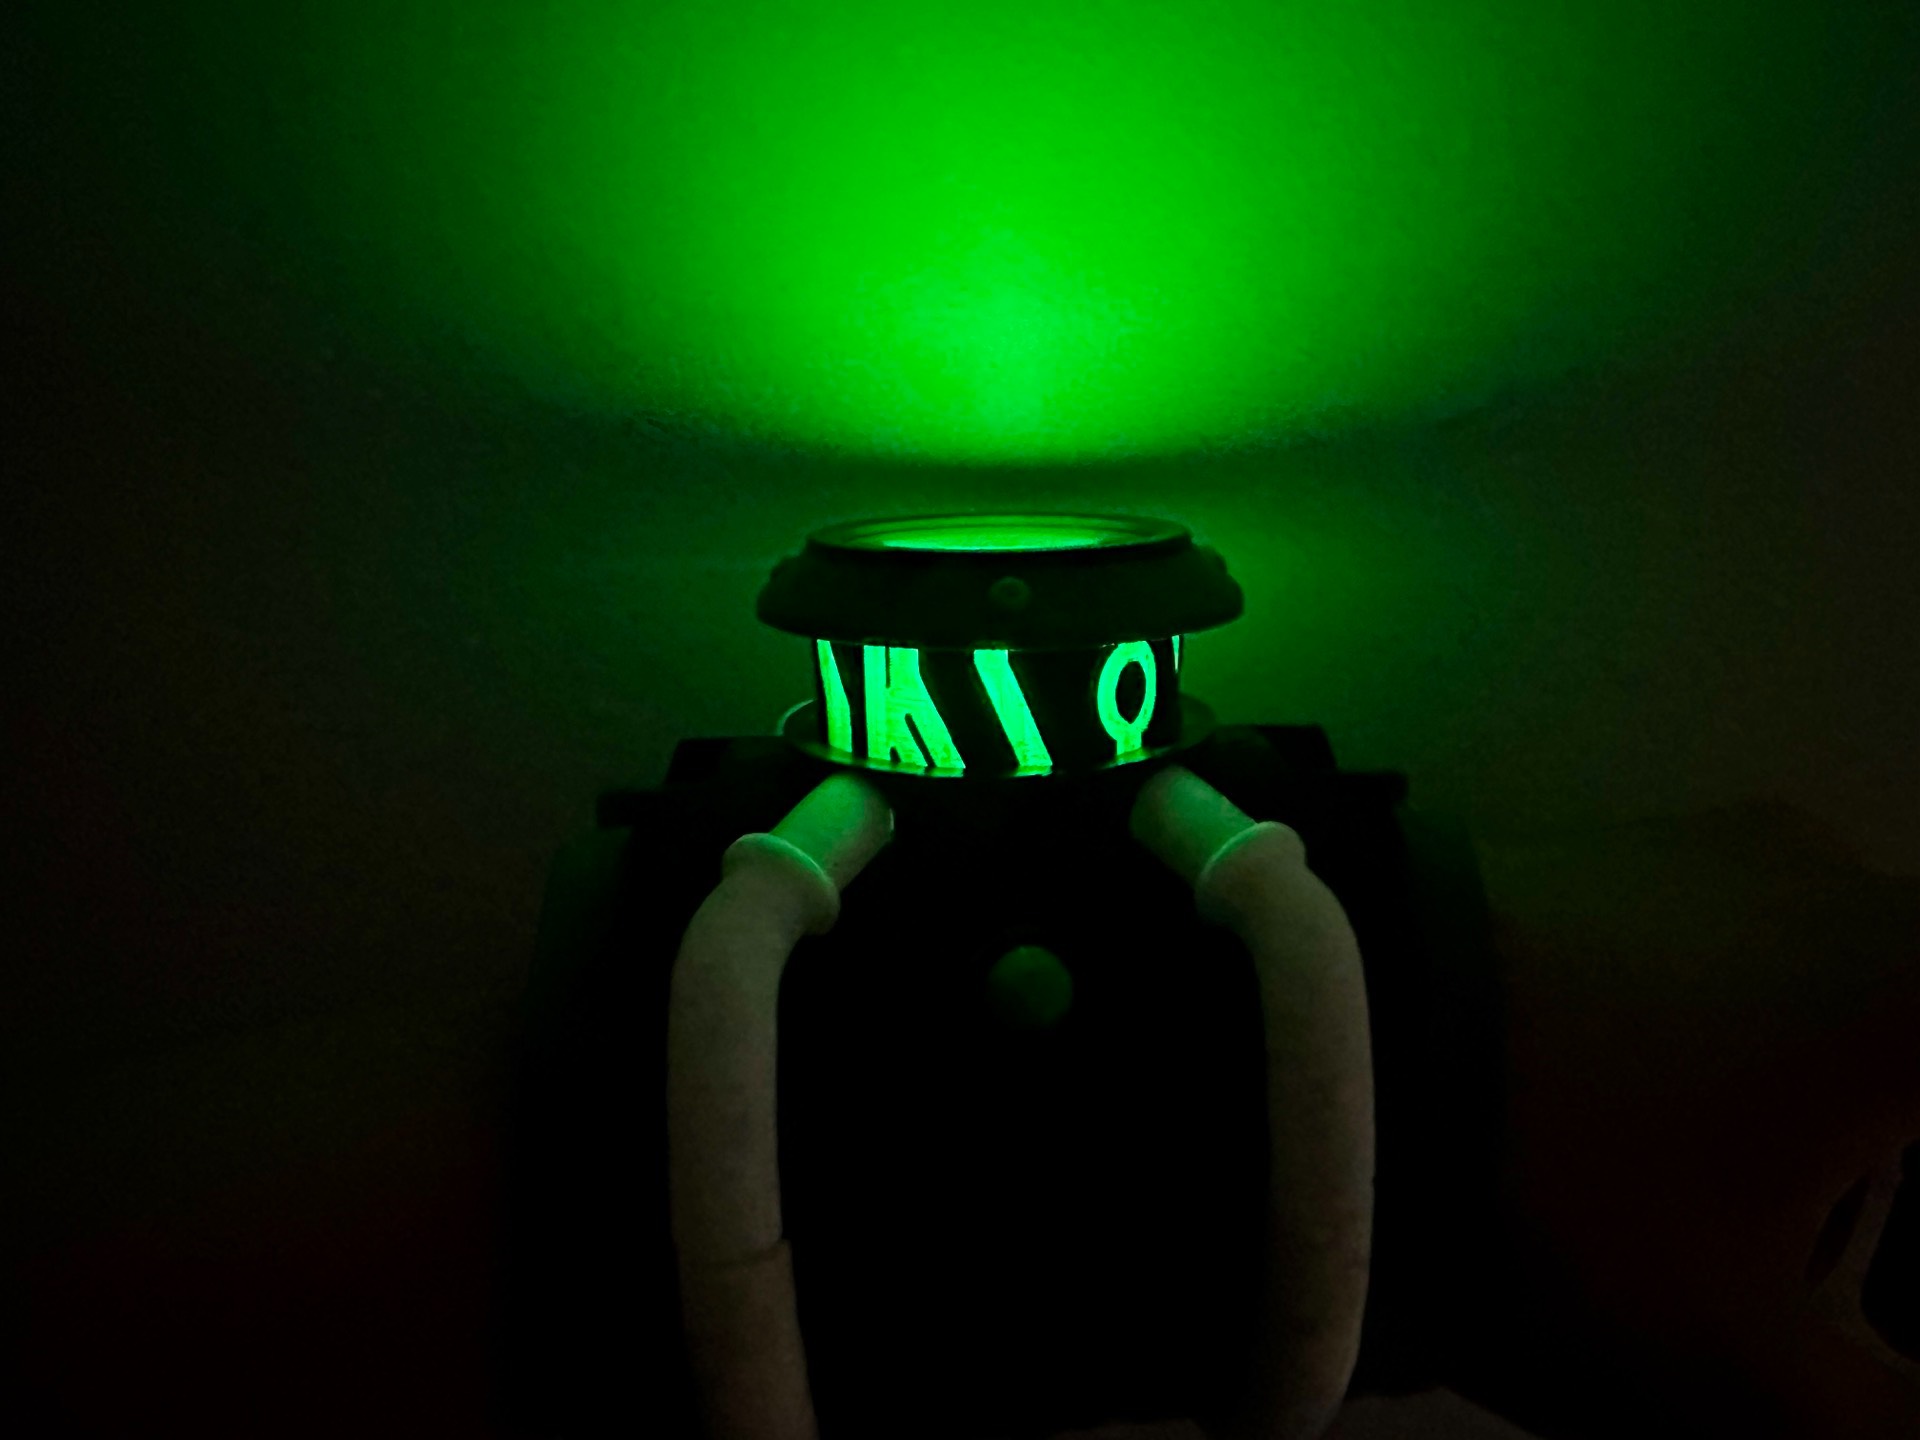
For fans of the Omnitrix, enhancing a basic toy into a stunning replica can be an exciting project.This guide will walk you through various techniques to personalize your Omnitrix using paint and LED lights, ensuring it stands out in any collection.
Upgrading Your Toy: Essential Techniques
Selecting the Right Materials
Before diving into customization, gather essential materials.You’ll need high-quality acrylic paints, weathering supplies like sponges and brushes, and LED lights with appropriate resistors. These components will help you achieve a professional finish.
Painting for Impact
Base Coat Submission
Start by applying a solid base coat to your Omnitrix. Choose colors that match the original design or opt for unique shades that reflect your personal style. Allow this layer to dry completely before proceeding.
Adding Weathering Effects
To create an authentic look reminiscent of battle-worn gear,employ weathering techniques:
- Dry brushing: Use a lighter shade of paint on raised areas to simulate wear.
- Sponge Technique: Dab darker hues onto specific sections with a sponge for depth.
- Wash Method: Apply diluted paint over surfaces and wipe off excess; this highlights crevices effectively.
These methods not only enhance realism but also add character to your prop.
Illuminating Your Creation: Soldering Basics
Understanding LEDs
Incorporating brighter LED lights can considerably elevate the visual appeal of your Omnitrix.Begin by selecting LEDs that fit within the device’s design while providing ample brightness.
Soldering essentials
If you’re new to soldering, here are some basic steps:
- Preparation: Gather tools such as solder wire, a soldering iron, and safety goggles.
- Wiring Setup: Connect wires from each LED to thier respective power source carefully.
- Solder Application: Heat the connection point with the soldering iron before introducing solder wire; ensure it flows smoothly around connections without creating bridges between terminals.
Practice on scrap materials if necessary until you feel confident in making secure connections without damaging components.
Final Touches and Assembly
Once painting is complete and lighting is installed:
- Reassemble all parts carefully.
- Test all electronic components before finalizing assembly.
- Consider adding protective coatings over painted surfaces for durability against wear during display or playtime.
Conclusion
Customizing your Omnitrix can be both rewarding and fun! By following these steps—selective painting techniques combined with effective lighting—you’ll create an impressive piece that showcases both creativity and craftsmanship in every detail!